

Special offer
Product Description
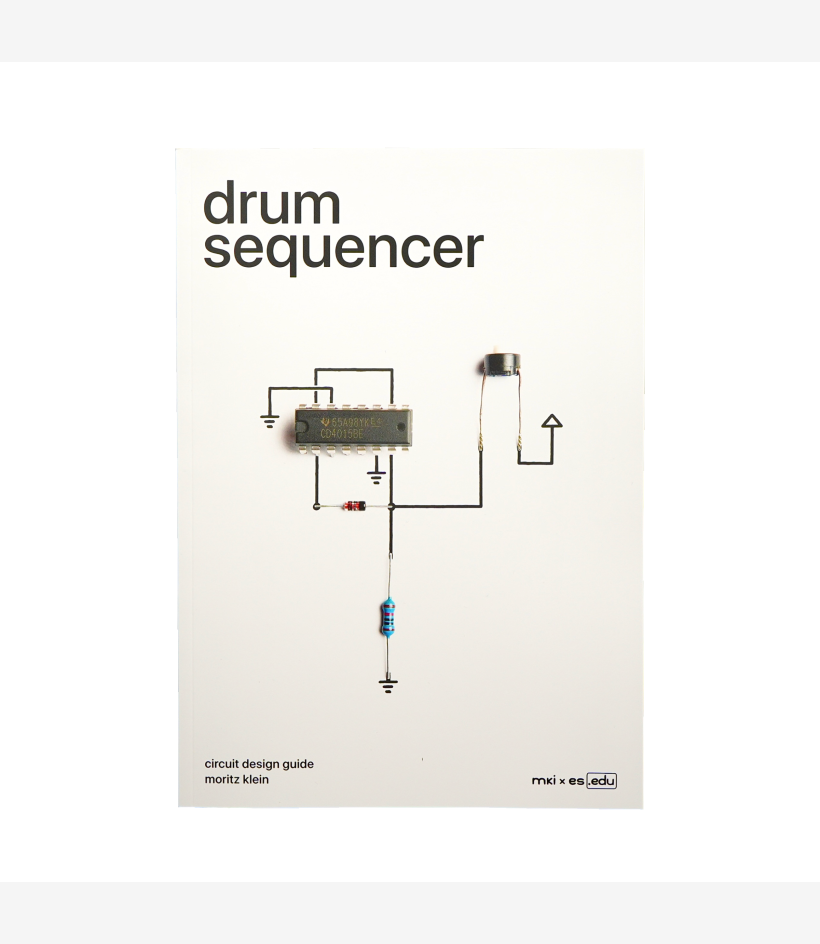
This illustrated guide walks you through designing a shift register-based drum sequencer circuit from scratch – starting with a simple single button tap looper and building up to a fully featured rhythm composer.
Each chapter introduces a new functional block: from a clear button and a metronome LED to accent and pitch CV outputs. Every step includes detailed schematics and a breadboard layout, so you can test each addition as you go and see the circuit evolve.
While it's based on the original manual for our EDU DIY Drum Sequencer kit, this book takes it further with hands-on design challenges that encourage experimentation, along with patch examples, a structured troubleshooting guide, notes on production-ready module design, and post-assembly modifications. It's a tool for understanding, refining, and extending the circuit – not just building it.
What's inside
- Circuit design walkthrough with schematics, breadboard layouts, and browser-based circuit simulations
- Design challenges that encourage you to experiment with component values and discover trade-offs firsthand
- Notes on turning the breadboarded circuit into a production-ready module
- Detailed assembly guide for our EDU DIY Drum Sequencer module
- Step-by-step troubleshooting guide using on-board test points to isolate and fix common build issues
- Patch examples for beat programming, LFO-based accents, and melodic sequences
- Three simple post-assembly modifications to tailor the tempo range, accent feel, and sequence-to-melody conversion to your taste
Requirements
You can follow along using LABOR, our circuit prototyping board, or a standard breadboard with a dual power supply (or two 9V batteries). Components can be purchased as part of our EDU DIY Drum Sequencer kit or sourced individually. The breadboard layouts in the guide are made for LABOR, but a standard breadboard works just as well – you'll just need to adapt the layouts and use breadboard-friendly pushbuttons & switches.
Drum Sequencer Circuit Design Guide
EAN:
4752275001898
Manufacturer:
Erica Synths
€15
VAT is not included
Worldwide delivery with UPS and Fedex
Pay securely with Credit Card or PayPal
24 month warranty
Short Description
Illustrated book that teaches drum sequencer design.
Read More
Shipping & Taxes
EU customers: + VAT for customers in the EU without EU VAT registration number + shipping
Outside EU: + local taxation (VAT / trade tax / import duties) is applicable in the country of delivery + shipping
Returns Policy
Warranty
Got questions?
Guides and answers to frequently asked questions.
Go To Support
Product Description
This illustrated guide walks you through designing a shift register-based drum sequencer circuit from scratch – starting with a simple single button tap looper and building up to a fully featured rhythm composer.
Each chapter introduces a new functional block: from a clear button and a metronome LED to accent and pitch CV outputs. Every step includes detailed schematics and a breadboard layout, so you can test each addition as you go and see the circuit evolve.
While it's based on the original manual for our EDU DIY Drum Sequencer kit, this book takes it further with hands-on design challenges that encourage experimentation, along with patch examples, a structured troubleshooting guide, notes on production-ready module design, and post-assembly modifications. It's a tool for understanding, refining, and extending the circuit – not just building it.
What's inside
- Circuit design walkthrough with schematics, breadboard layouts, and browser-based circuit simulations
- Design challenges that encourage you to experiment with component values and discover trade-offs firsthand
- Notes on turning the breadboarded circuit into a production-ready module
- Detailed assembly guide for our EDU DIY Drum Sequencer module
- Step-by-step troubleshooting guide using on-board test points to isolate and fix common build issues
- Patch examples for beat programming, LFO-based accents, and melodic sequences
- Three simple post-assembly modifications to tailor the tempo range, accent feel, and sequence-to-melody conversion to your taste
Requirements
You can follow along using LABOR, our circuit prototyping board, or a standard breadboard with a dual power supply (or two 9V batteries). Components can be purchased as part of our EDU DIY Drum Sequencer kit or sourced individually. The breadboard layouts in the guide are made for LABOR, but a standard breadboard works just as well – you'll just need to adapt the layouts and use breadboard-friendly pushbuttons & switches.